Monday, April 30, 2012

Thank You to our Guest Designer Jill Utrup!!

I want to send a big Thank You to Jill for being our guest designer this month.  I love her take on changing the 12 by 12 paper to fit onto an 8 1/2 by 11 page.  She had some wonderful ideas and we feel blessed to have had her a part of our team during April.

Today, we have a couple of final projects from Jill.  She created this soccer card using up her scraps from her soccer layout.  I love the addition of the zebra paper too!!


And finally we have this great card she created to wish her son good luck before the big game. 


Stayed tuned as we have another great guest designer being featured during the month of May!

Sunday, April 29, 2012

Another teacher gift...

Need an easy card to give the teacher? Here is one that is easy and the kids can even help!!

Step 1: Cut a piece of brown cardstock 12" x 4". Score it at 4 1/2", 5 1/2",  6 1/2" and 11". Tent fold the center so that the card stands up. The 11" fold will be the flap that comes over to make the top of the owl, but don't adhere it yet. Cut triangles fromthe edges of the 11" fold so that it looks like the owl's pointy head (see above).

Step 2: The eyes...
Use a scallop punch and 3 circle punches (or google eyes) and layer them on top of each other as shown.

Step 3: The body...

Cut  4" strips of different colored patterned paper. Rip them and layer them onto the body. You can also use a border punch of you want a more finished, lacey look.

Step 4: Finishing...

Add the eyes at the top and fold the top over slightly. I added an upside down bracket to add eyebrows and give the owl and expression. Cut a triangle beak and adhere between the eyes. Using a  scallop punch, cut one scalloped circle and cut in half for the feet.

Then add your greeting. Other suggestions... "Owl always love you". "Owl love you forever" "Owl be your friend". Can you think of others?

~Shannon

Products Used:
Wrestling
Ducks
Football
Football Game
On the Edge Basketball


Saturday, April 28, 2012

Teacher Gift Weekend

Hey there scrapbook fans...stay tuned this weekend for a couple of tutorials to help you get started on those end of the year teacher gifts!! (yeah...we're here to help!)

First up is this adorable little backpack mini album...perfect to add class pictures to as a reminder of the students that year. Make an extra one for yourself as a keepsake...or as a gift to a classmate that is extra special!


Here's what you will need to begin this project...
11" x 3" strip of cardstock (I used brown)
11" x 2 3/4" strip of cardstock (2)
2 pieces of ribbon - 8" each
2 brads
2 magnets (optional)
4" x 2 1/2" piece of patterned paper (8)
5" x 5" piece of patterned paper
3" x 2 3/4" piece of patterned paper (either cardstock weight or reinforced with cardstock)
2 1/4" x 2 1/4" square piece of patterned paper (either cardstock weight or reinforced with cardstock)
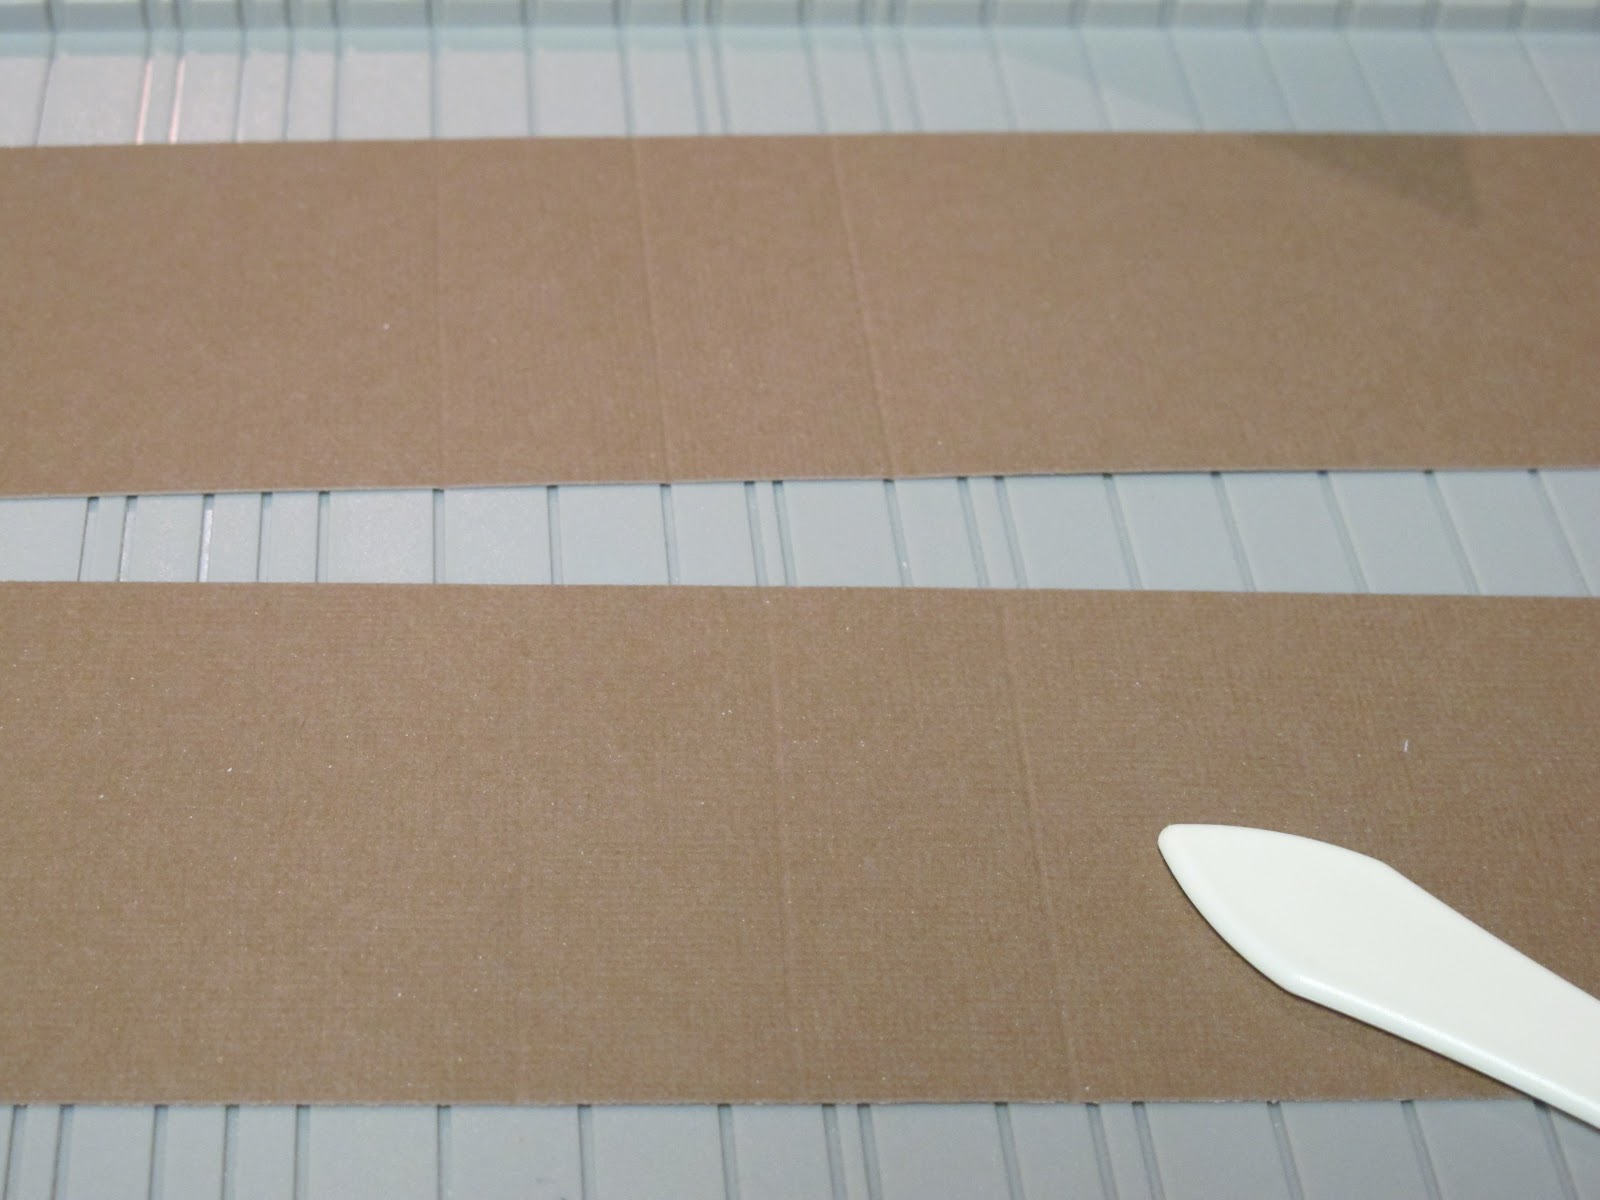
Step 1:
Score 11" strip at 4 1/2", 5 1/2" and 6 1/2". Crease and fold up the center to create a tent fold.


Step 2:
Score top flap piece (3" x 2 3/4") at 1 1/4" and 1 1/2" and ahere to top back of backpack to create flap closer. (Note...you can use a corner punch to round the edges of the front flap if you want that look).

Step 3:
Score 5" x 5" square at 1/2"on one end so that you have 5" x 4 1/2" piece. Score at 2 1/4" and fold in half, adhering top edge to folded 1/2" edge.
Step 4:
Fold in half to form 2 pockets. Using a circle punch, punch 1/2 circles at the tops of each pocket.
Score 2 1/4" x 2 1/4" pocket flap piece at 1" and 1 1/4" and adhere the piece to the back of the pocket.
Step 5: Inside Page Assembly
Score 11" x 2 3/4" strips at 4 1/2", 5 1/2" and 6 1/2".
Adhere center tent folds to frame tent fold.
Adhere decorative pieces (4" x 2 1/2") to the page inserts and add your own embellishments, photos, etc.


Step 6: Final Assembly
Punch/Make 2 sets of whole in the back of the backpack to run ribbon through. Secure each by tying knots at the ends.
Place brads on lower fronts of flaps. Line up with mini magnets and adhere magnets to the main frame and pockets. (Note: if you don't have magnets, you can secure the brads all the way through so that the brad is your closure)
Adhere pocket to the front of the backpack.

And here is your final project! And because Scrappin Sports & More has such an extensive school line...you can find just about any color to use on your backpack. I used the Kindergarten and 3rd Grade papers so that I could use the blue and yellow to match my son's school colors.

Stay tuned tomorrow for another fun project!!

~Shannon

Friday, April 27, 2012

Mini Album {Part 1}

Hey, everyone!  It's Nicole here today to share with you how to create a simple mini-album complete with pockets using only TWO sheets of 12X12 paper!

First, cut your papers into SIX 4"X12" strips.  Then, fold FIVE of them in half with the side you would like to see on the INSIDE of your fold.  Cut the last strip in half to make two 4" X 6" pieces.

Now, take a standard letter sixed envelope (4 1/2" X 6 1/2").  Lick and seal the flap closed and then cut the end off to make the envelope 5" long.  This will be your pocket between your pages.

Adhere your envelope to the outside of one of your folded strips of paper.  The opening of your envelope should be toward the end of your strip (away from the fold).  I put the envelope a little bit away from the edge (1/8").

Next, put double sided tape, or strong adhesive around the edges.

Now, remove the backing of the tape and adhere another strip of paper over the top of your envelope being sure to line the edges up carefully.  (Nice bandaid, eh?)

Now you have a pocket in between the pages of your mini-album!

Continue by adding envelopes and strips of paper until you have used all 5 strips of paper.  That will create 4 pockets and a total of TEN 4" X 6" pages for your mini album!

Here's what it looks like from the front!

Now, you just need to make a cover for your album.  Right now, you see the "back side" of the paper showing.  Simply adhere one of your 4" X 6" pieces- one to the front and one to the back!

And, VOILA!  You have a 4" X 6" mini album with a front, a back, TEN Pages and FOUR pockets with just using TWO pieces of 12" X 12" patterned paper and four letter envelopes!
Stay tuned for my next post where I will share the the album again- this time with photos, journaling and embellishments!

Products Used:
#1375- Title Sports: Hockey

Thanks so much for stopping by today!  I hope you were inspired!!

~Nicole

Thursday, April 26, 2012

Jazz Dance

I love to scrap the professional dance photos of my girls.  We aren't allowed to take photos at the recital so it's fun to get really nice pictures of them in their costumes.  My youngest daughter's jazz costume this last year was the perfect fit for the myriad of dance papers Scrappin Sports carries. 

I used the Girls Rule Prom #1392 paper for the background and covered the quote with a piece of Title Sports Dance #1371.  I then hand cut the title out of the Title Sports Dance paper and popdotted that over that title box.  I added some bits of The Sport is Dance #1341 for contrast and there you have it! 

Wednesday, April 25, 2012

Baseball pitching layout

This past weekend, my son's baseball team played in a five game tournament in which my son pitched five innings during the second game & he was on fire!  I love the simplicity of SSM's Sporty Words Line - worked perfect for my two photos!


Products used:
Sporty Words - baseball paper #1397
Game Day - cheerleading paper #1240
Dotted Baseball paper #1004
Cardstock baseball stickers #5544


Thanks for stoppin' by!

~Carolyn

Thursday, April 19, 2012

Football by Jill

I really Love this picture that Jill took; really looks like the ball is coming right at you!!  Jill has done an amazing job showing how you can cut down the 12 x 12 Football Title Sports paper and make it fit perfectly for the 8 1/2 by 11 layout.  The addition of the blue stars from the gymnastics paper adds just enough pop of color to really highlight the title letters. 


Scrappin' Sports items used:

#1374 Title Sports Gymnastics (blue stars)
#1372 Title Sports Foorball
#5549 Football stickers

Wednesday, April 18, 2012

Flying High

We are on vacation here in Maine this week and the weather has been AMAZING!  It feels very summerlike, but we still have eight LONG weeks of school before it will really be summer.  Both of my kids got new kites for Easter this year and have been dying to take them for a spin.  We finally got the chance this past Sunday- it was a gorgeous, sunny, breezy day when there was nothing else on the calendar!  So, we went down the road to a park about 5 minutes from home where there is plenty of open space to fly their kites.  It was really the first time that they could fly them without a lot of help from mom or dad.

Here's Elizabeth and her kite!  I had a fun time using the "Title Sports" collection for this layout.  The bright colors are so fun for summer-day activities!

Here's a close up of the fun pattern of squares:


And, here's a close up of the cute diecut kite!


This layout is based on a sketch from the fabulous Heather Landry!  Thanks, Heather, for letting me share it!


Products Used:
#1381- Title Sports: Tennis (yellow)
#1371- Title Sports: Dance (purple)
#1378- Title Sports: Prom (blue)
#1373- Title Sports: Golf (green)

Thanks so much for stopping by today!  I hope you were inspired!
~Nicole

Tuesday, April 17, 2012

Bowling 3.0

With teenagers, I am often not included in their "events"...luckily, their camera phones and iTouch obsession with Instagram allows me to snag their photos so I can still scrap the fun!  Inspired by the simplicity of the Instagram format that my daughter used to take these photos, I created this layout documenting her bowling day.  Each semester, the Humanitas program that she is enrolled in at school rewards the kids with above 3.0 GPAs.  This semester's reward was bowling!  Even though she didn't "win"..she had a blast hanging with her classmates, bowling, eating pizza and just being outside of school for a day!

As design notes, I fussy cut the bowling pins and ball from the Sports Head On Bowling paper and used Glossy Accents on the ball to give it a bit more dimension.  The pins are pop dotted off the "lane" I created from the Girls Rule Track paper, too.
Products Used:
Girls Rule Track #1396
Game Day Swimming #1250
Game Day Bowling #1239
Sports Head On Bowling #1321

Monday, April 16, 2012

All Star baseball layout

It's been hit or miss with the weather if the boys get to play baseball or not ... but last weekend they were able to get a few games in during a one-day tournament.   I love my son's new team's uniforms and I love how I can mix and match so many different SSM lines!!


Products used:
Title Sports ... Gymnastics paper #1374
Sports on Fire ... Baseball on Fire paper #1133
The Sport is ... Baseball paper #1337
Super Size Sticker - Baseball #5564

Thanks for stoppin' by!

~Carolyn

Friday, April 13, 2012

Altered "Gift" Can

I am a collector of all kinds of packaging, from boxes my photos arrive in to plastic containers my craft supplies come in to great bags from stores.  Any of these items can be spritzed up for gift giving!  Last week was one of my dearest friend's birthday and I need something special to package her gift.  I couldn't just wrap it in plain ol' paper.


I designed this altered mini-can (from some Prima flowers) around the "The Sport Is" Music Paper (#1346).  My friend is a love of music, so this was a perfect place to start. I also used the complimenting black/white striped Hockey Paper (#1375) from the "Title Sports" line.  Pops of pink were thrown in for a bit of contrast and femininity.


I even decorated the top of the can!  

Wednesday, April 11, 2012

Great Soccer Tags by Jill

I am glad to be able to share another great idea from our April Guest Designer Jill Utrup. 

As soccer season is starting up again in Ohio, it is the perfect time to use these tags created by Jill. These two tags go back to back of each other and were laminated to keep them from getting damaged.  They were then strung together by ribbon and put on her soccer daughters soccer bag so that she can self check to see if she has everything for practice or games!  Such a great idea!!


Monday, April 9, 2012

A Bottle of Sunshine!

Have you ever wished you could send someone a bottle of sunshine?  Well, I have!  If you have a friend or family member who could use a little cheer, you can send a bottle to brighten their day!

First, I talked my husband into drinking some of the Starbuck's Frappacchino's from the grocery store.  Then, I ran the empty bottle through the dishwasher and cleaned off the label.  Then, I set to work creating SUNSHINE!  I picked out the yellow candy from some leftover Easter goodies.  Then, I covered the cap with some fun Tennis paper from the Girls Rule collection.  Then, I traced and cut a sun on to the same paper and adhered it to the front of the bottle.  Finally, I added a bow and VOILA!  A bottle of sunshine!


Products Used:
#1395- Girls Rule: Tennis

Thanks so much for stopping by today!  I hope you were inspired!

~Nicole

Friday, April 6, 2012

They make beautiful music together...

The Concert Band is playing so beautifully this year...it actually brought tears to my eyes to hear them play in the Spring Concert.  I wish a scrapbook page could share that (the video on disc will go in my scrapbook, though) sound...but you'll have to take my word for it. 

The Sport Is Dance and Music papers also play beautifully with the the Girls Rule Music papers to make easy work of this layout.  I think that is what I like best about Scrappin Sports papers..they all just work so well together! Sort of like the Concert Band, beautiful music!!
Products Used:
The Sport Is Music #1346
The Sport Is Dance #1341
Girls Rule Music #1404

Thursday, April 5, 2012

Game Day layout

One of the great things about SSM papers is that you can mix and match the different lines with their custom papers!   I really like how the words on the custom paper highlight this photo of my son during fall baseball last year.  I love when layouts seem to fall together all by themselves especially when using all scraps (with the exception of the custom paper of course :) )


Products used:
Custom Marbled paper #901
Game Day - Baseball Game paper #1237
Defining the Game paper - Defining Baseball #1005
The Sport is Baseball paper #1337
Cardstock Stickers - Baseball #5544


Thanks for stoppin' by!
~Carolyn

Wednesday, April 4, 2012

S is for Star

I love all the different colored star prints in the "Title Sports" line.  The Football (#1372) paper was a perfect color and print choice to create a home decor project with my grandson in mind.  


I had an idea to use the concept of an old fashioned alphabet flashcard as the base of framed art for Chase's room.  


I designed and printed the flashcard on my printer.  I used some Sizzix star dies to create the stars.  The larger star uses the Football (#1399) from "Sporty Words."  To give the smaller star some dimension I scored each tip of the star, folded along the score lines and then popped it with a PopDot. Once the flashcard was finished, I double mounted it on teal cardstock and more of the "Sporty Words" Football paper.  

I used the scraps from the flashcard framed art for this card....


Tuesday, April 3, 2012

A little bit of hockey and a whole lot of paper

I have said it before and I will say it again...I LOVE that Scrappin Sports and More has paper lines that are so easy to put together!!! I also LOVE that they have such an extensive Hockey line (including PERSONALIZED papers!!)

Check it out...


~Shannon

Products Used:

#906 Custom Spirit Names
1393 Soccer (Girls Rule)
1345 Hockey (The Sport Is)
5568 Hockey Super Size Cardstock Sticer

Monday, April 2, 2012

Meet Our Newest Guest Designer Jill Utrup!!

Today it is our privilege to introduce you to our next guest designer Jill Utrup.  I am really excited to show you some of Jill's work, but first a little about Jill.

Hi, my name is Jill Utrup and I am so excited to be a guest designer for Scrappin' Sports.  I have been scrapbooking for over 13year now.  I am a single mother of three children 2 girls 17 and almost nine and a boy who is 13.  My children participate in soccer, football,basketball, 4H, FFA, and choir.

I love the SSM lines!  Each new introduction brings new ideas and ways to use them for my children. I also love to take papers and use them for non traditional uses such as cards or mini albums. I love to brighten someone’s day even if he/she are suffering in a bad situation.  It lets them know someone is thinking of them.

This is the cheer paper and soccer paper.  The title is too big on the 12x12 paper to fit on one 8 1/2 x 11 page.  So by cutting it up and matting it I utilized the wonderful lettering.