
First up is this adorable little backpack mini album...perfect to add class pictures to as a reminder of the students that year. Make an extra one for yourself as a keepsake...or as a gift to a classmate that is extra special!

Here's what you will need to begin this project...
11" x 3" strip of cardstock (I used brown)
11" x 2 3/4" strip of cardstock (2)
2 pieces of ribbon - 8" each
2 brads
2 magnets (optional)
4" x 2 1/2" piece of patterned paper (8)
5" x 5" piece of patterned paper
3" x 2 3/4" piece of patterned paper (either cardstock weight or reinforced with cardstock)
2 1/4" x 2 1/4" square piece of patterned paper (either cardstock weight or reinforced with cardstock)
Step 1:
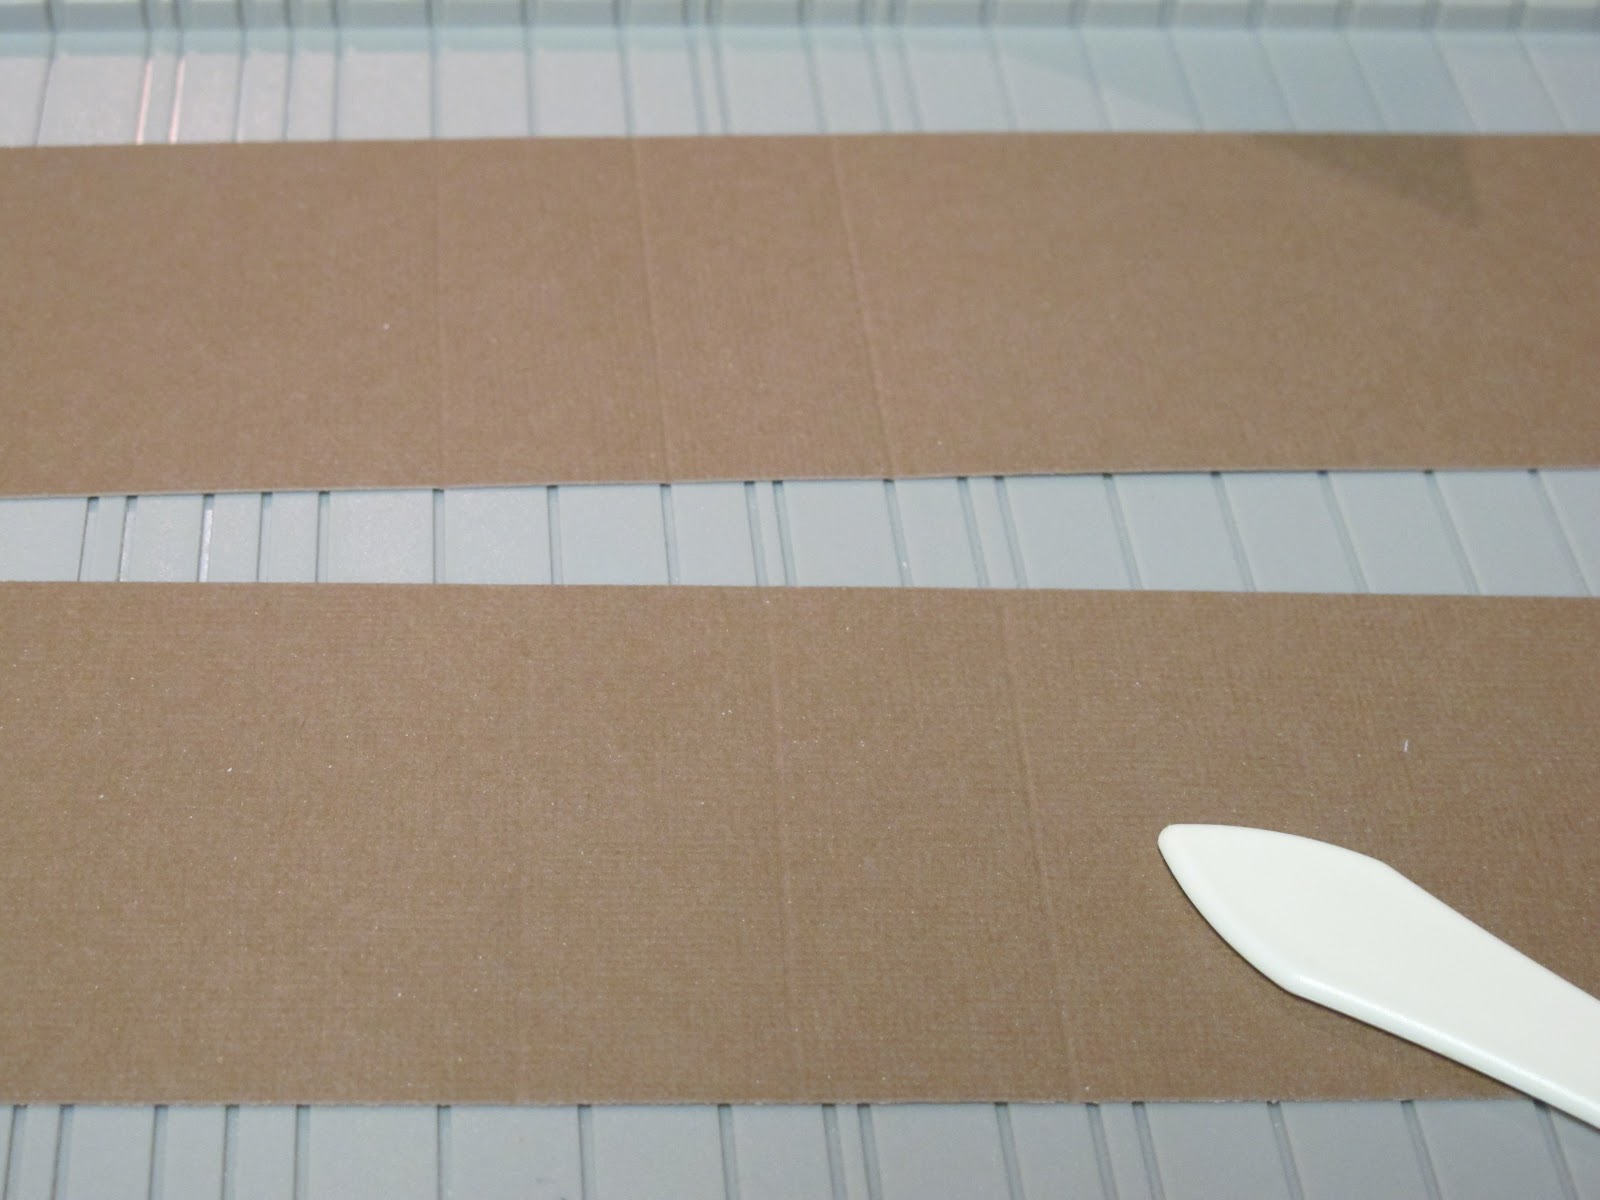
Score 11" strip at 4 1/2", 5 1/2" and 6 1/2". Crease and fold up the center to create a tent fold.
 |

Score top flap piece (3" x 2 3/4") at 1 1/4" and 1 1/2" and ahere to top back of backpack to create flap closer. (Note...you can use a corner punch to round the edges of the front flap if you want that look).


Score 5" x 5" square at 1/2"on one end so that you have 5" x 4 1/2" piece. Score at 2 1/4" and fold in half, adhering top edge to folded 1/2" edge.

Fold in half to form 2 pockets. Using a circle punch, punch 1/2 circles at the tops of each pocket.
Score 2 1/4" x 2 1/4" pocket flap piece at 1" and 1 1/4" and adhere the piece to the back of the pocket.

Score 11" x 2 3/4" strips at 4 1/2", 5 1/2" and 6 1/2".
Adhere center tent folds to frame tent fold.
Adhere decorative pieces (4" x 2 1/2") to the page inserts and add your own embellishments, photos, etc.


Punch/Make 2 sets of whole in the back of the backpack to run ribbon through. Secure each by tying knots at the ends.
Place brads on lower fronts of flaps. Line up with mini magnets and adhere magnets to the main frame and pockets. (Note: if you don't have magnets, you can secure the brads all the way through so that the brad is your closure)
Adhere pocket to the front of the backpack.


Stay tuned tomorrow for another fun project!!
~Shannon